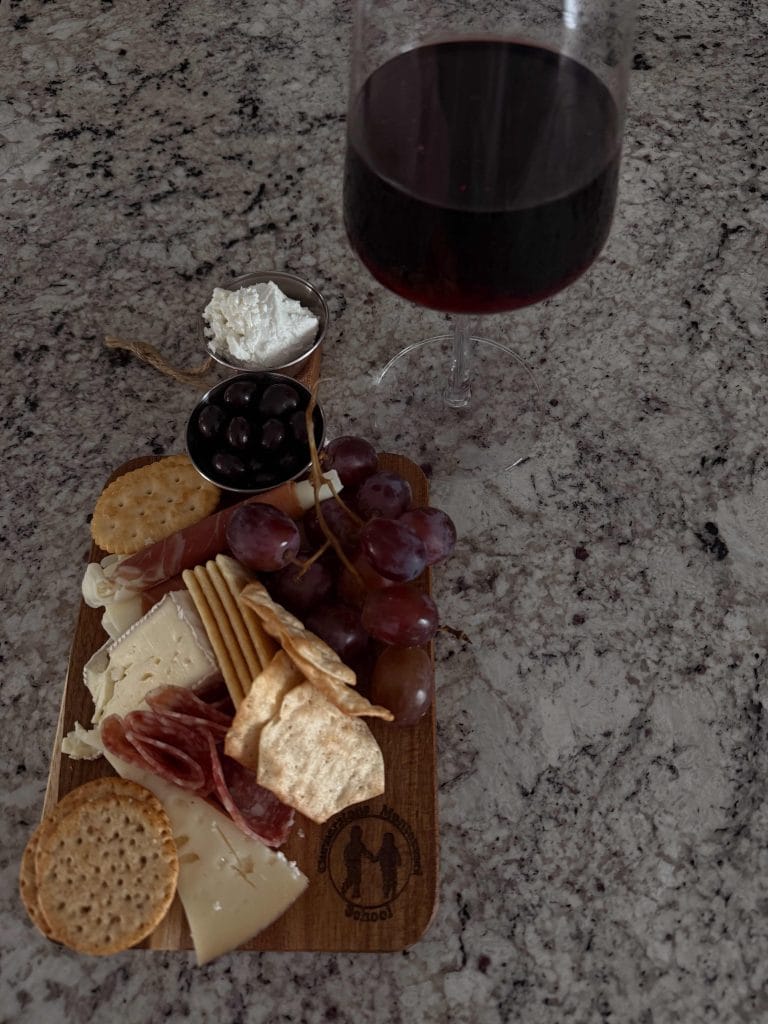
This year, my wife and I decided to give our teachers wine and custom charcuterie boards for Teacher Appreciation Week (Monday, May 5th through Friday, May 9th). As owners of the Cornerstone Montessori School, we celebrate our teachers as people who not only shape the minds of little humans, but also work for us as dedicated employees.
We were brainstorming at a local wine bar and came up with the idea to host a party called Wine Down Wednesday. The party would feature a build-your-own bar of grapes, cheeses, crackers, and more so teachers could load up their boards and enjoy their wine.
Engraving Charcuterie Boards
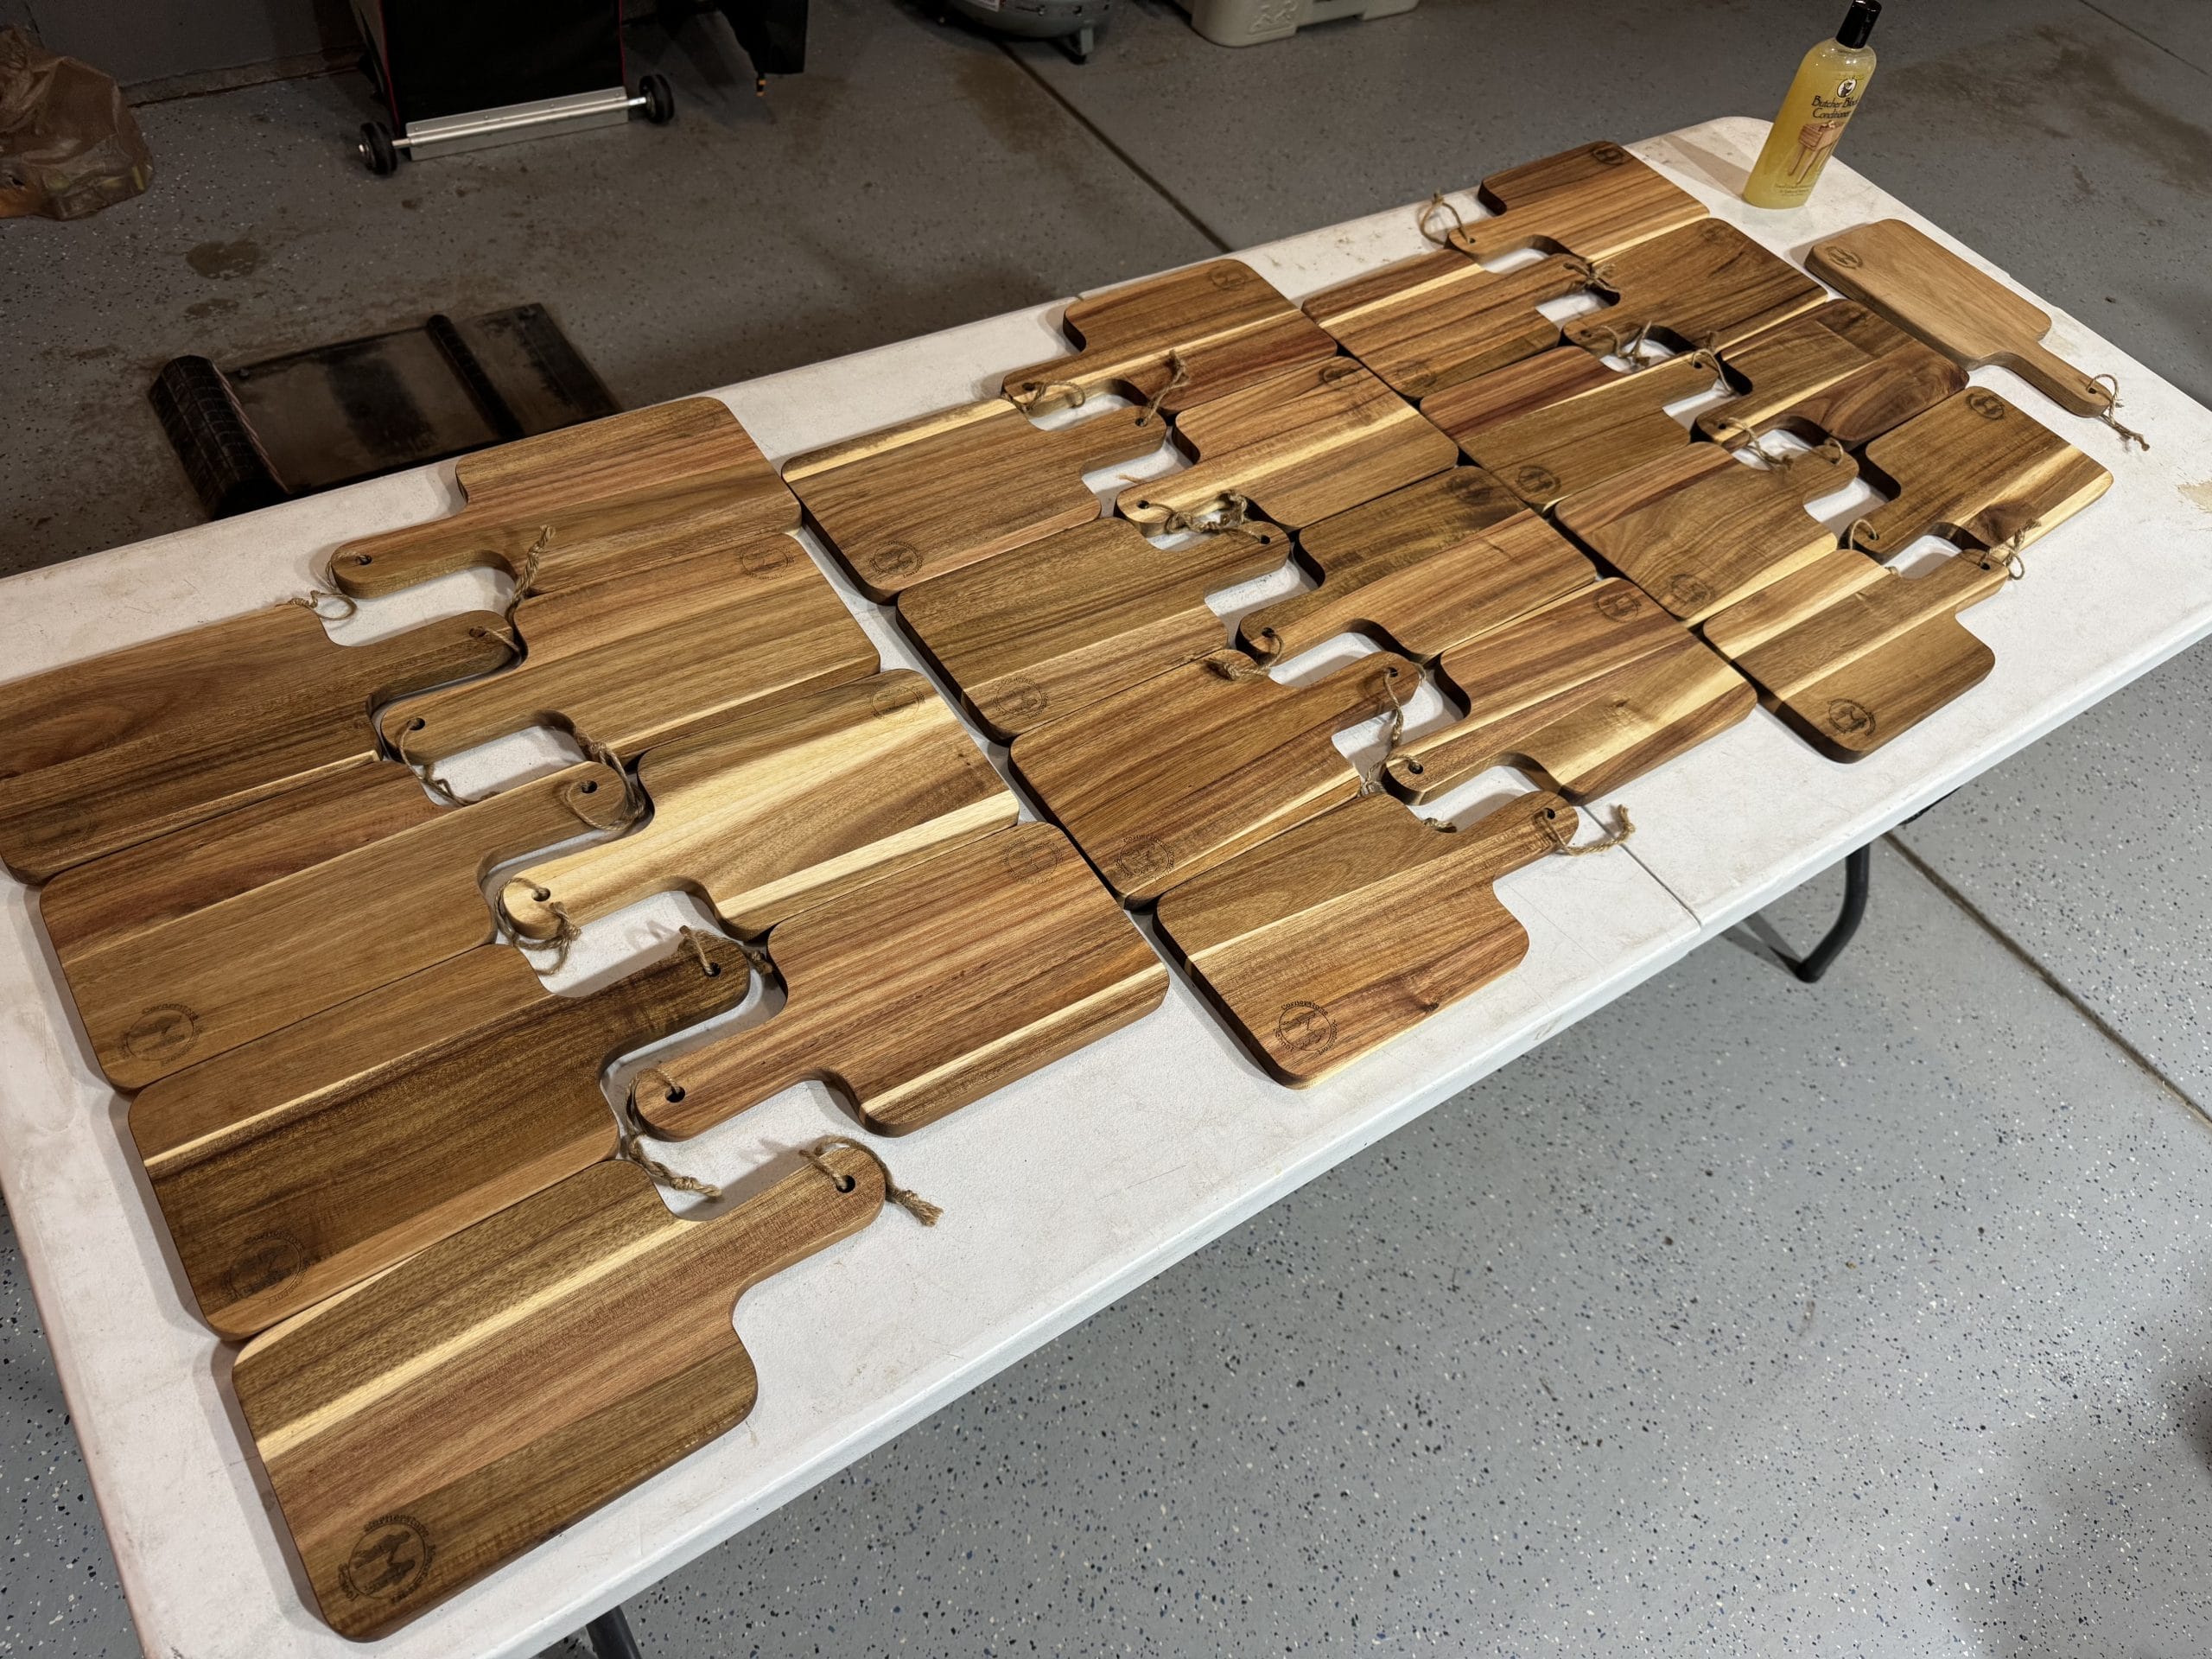
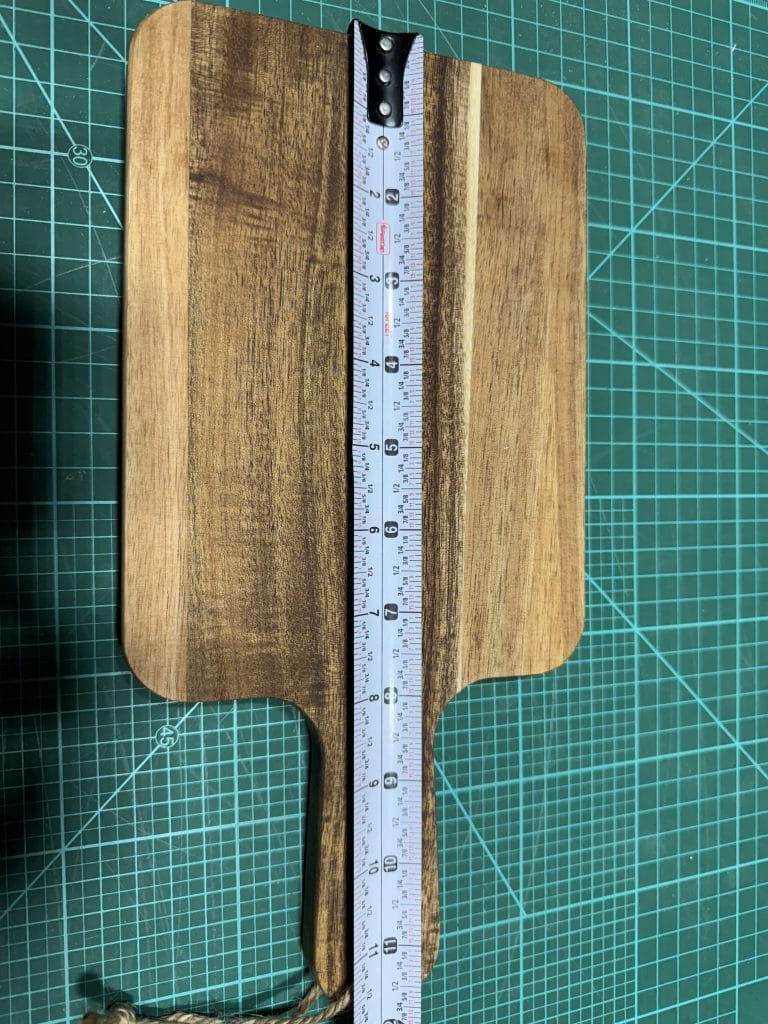
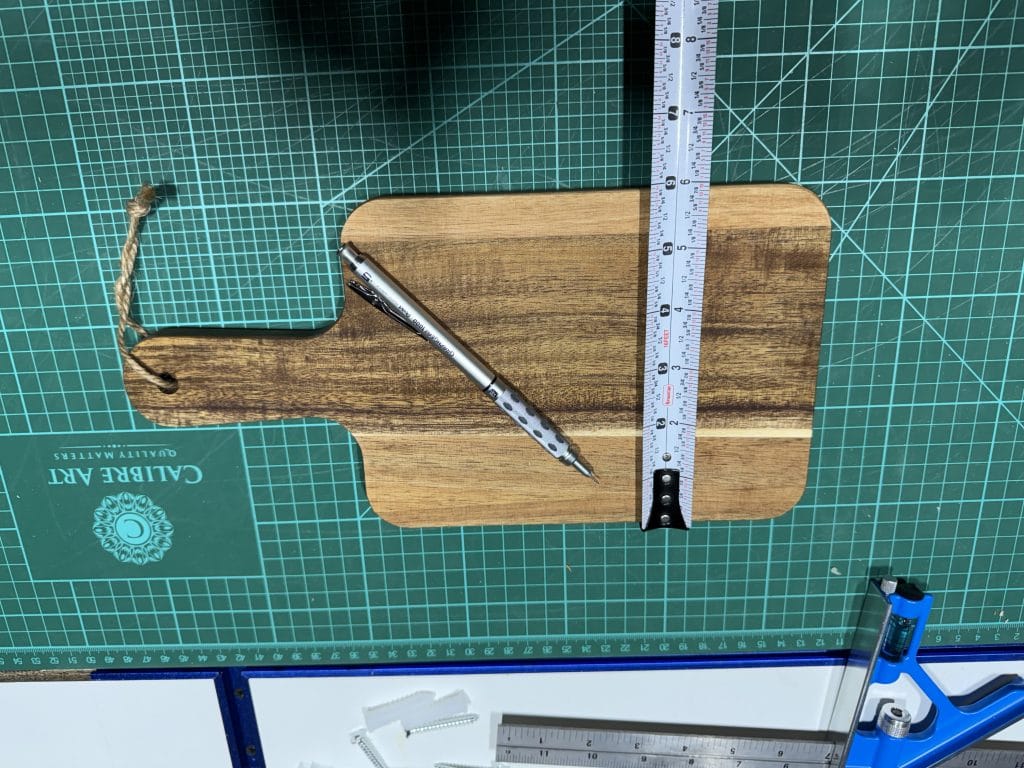
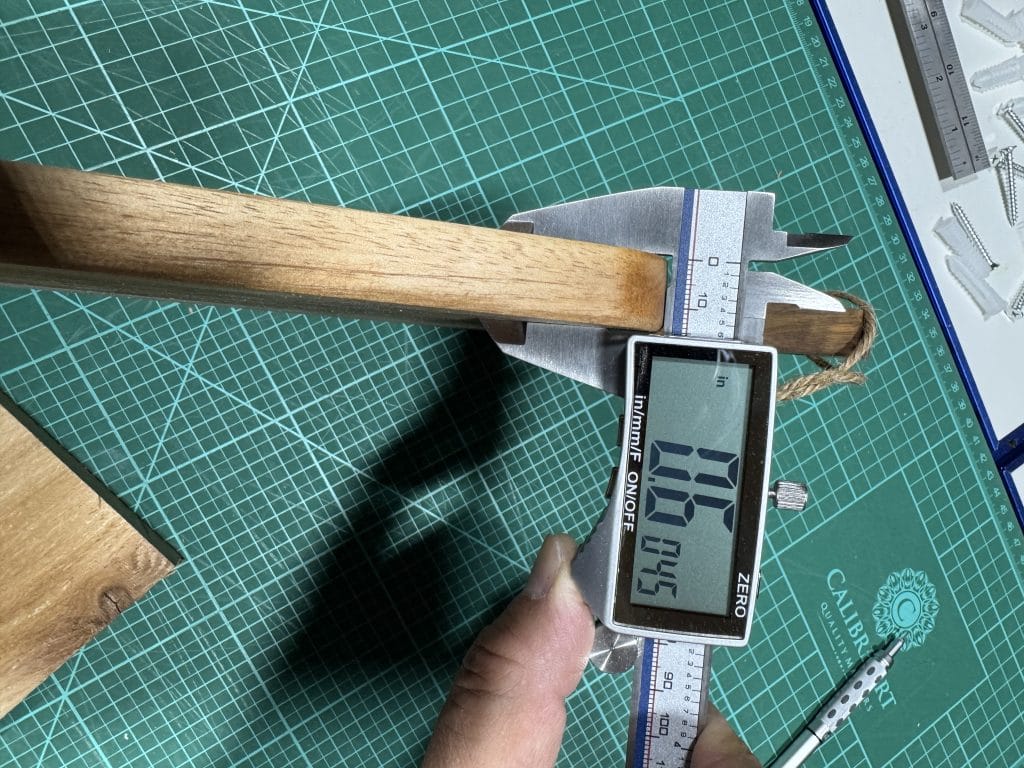
I found these acacia charcuterie boards on Amazon. They are the perfect size for this application and the measurements are true to those given on the product page. I really like the darker colors and pronounced grain. The weight and thickness give them a heft that feels like quality. They are very reasonably priced at just under $6 per board.
I first tried a bamboo board. The engraving is more pronounced because of the lighter bamboo color, but the board just felt cheap (and it was). It was thinner and lighter. Going forward, I don’t think I’ll use any boards that are less than 0.6 inches thick. Also, the edges were sharp, so I would have had to put some time into rounding them over.
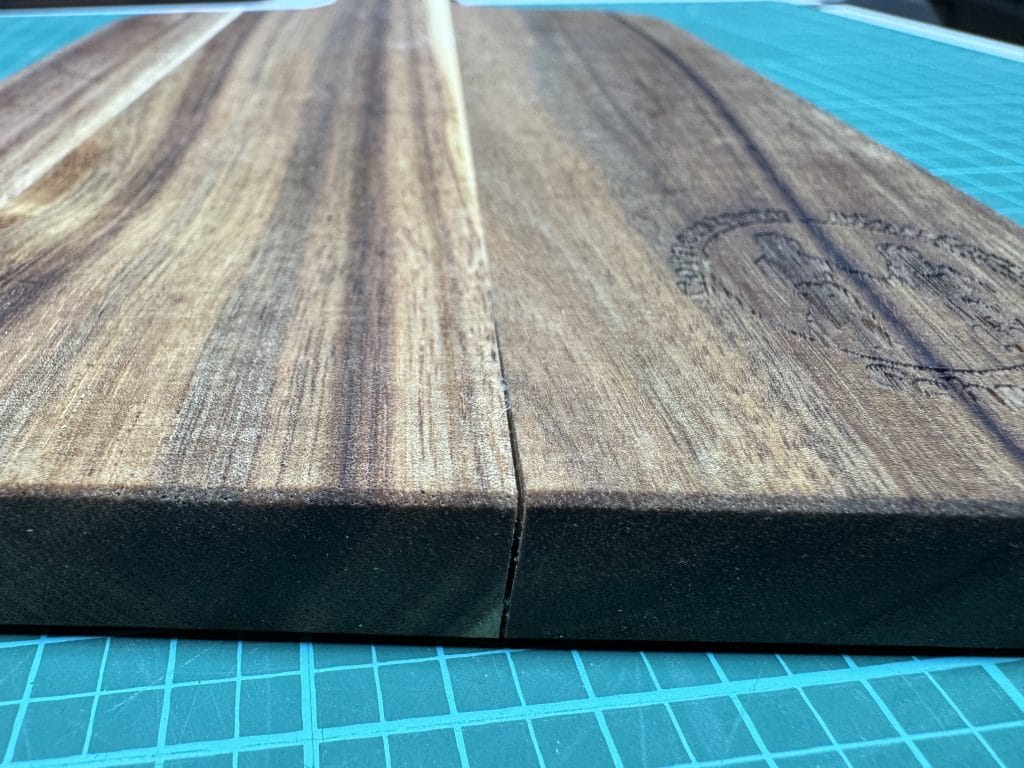
They come in packs of 16 and I ordered two packs for this job. There was one defective board in each pack – pic below. I just ordered another pack for another job, so I’m hoping it will be defect-free. If not, I’ll go through the hassle of contacting the seller to see if I can get the defective boards replaced.

Laser settings for the charcuterie boards
| Setting | Value | Notes |
|---|---|---|
| Power | 15% | The boards are made of acacia wood and came with a light coat of oil. |
| Speed | 280 mm/sec | I wanted a reasonably dark engraving with minimal etching. |
| Passes | 1 | I always do 1 pass. |
| Lines | 200 lines/cm | Honestly, I’m not sure this matters on small logos. |
| Mode | Bi-directional | I always use bi-directional. |
| Distance | +3 mm | I measured the distance from the laser to the board, then added 3 mm. This “defocusing” of the laser is what creates a darker engraving. |
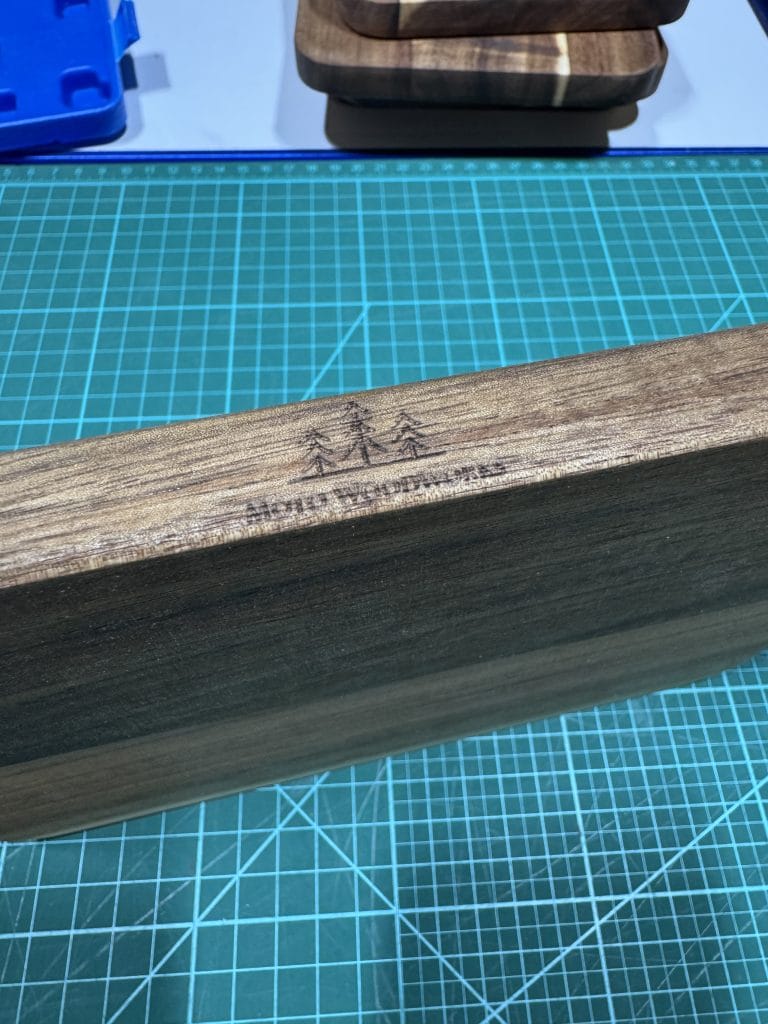
The laser run for the school logo took 3:41 and the Moto Woodworks logo took 1:51. If I add a bit to set up the boards in the laser, it was probably 6 minutes per board. Then another 3 minutes per board to add two coats of oil. There was a little time on the front end to set up the digital artwork and a little time on the back end for packing and delivering. The job called for 25 boards, so all in, the project took me about five hours.
Bonus
My oldest son, Tag, and his best friend, Brady, wanted to do something for their favorite teacher. If you’ve got teenage boys, you know this is a very rare display of thoughtfulness. For most of the year, I hear about the uselessness of school and the incompetence of teachers, so I was pleasantly surprised to get this request.
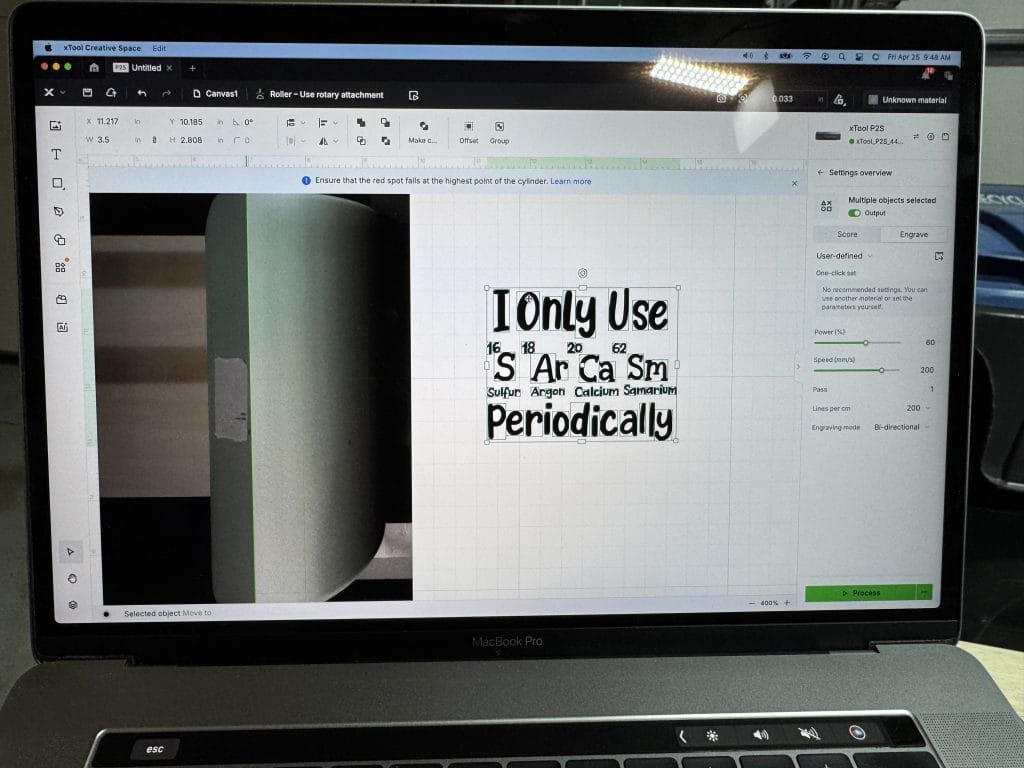
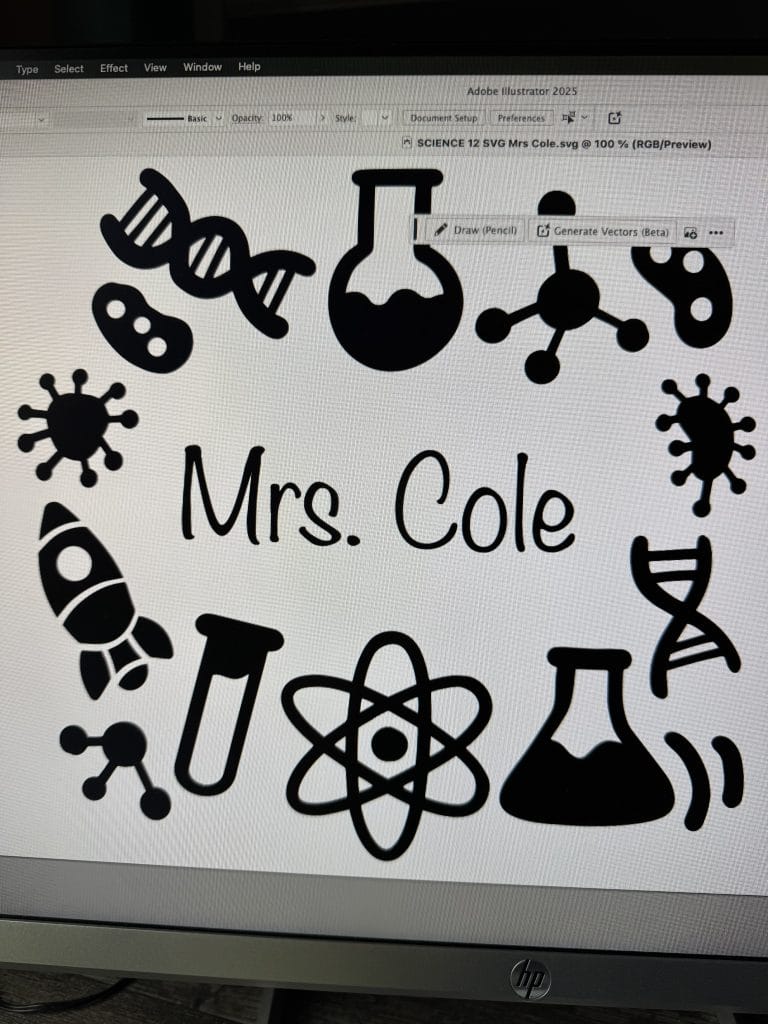
The request was for a custom, laser engraved water bottle for Mrs. Cole, the science teacher for whom they served as teaching assistants. Brady supplied the water bottle and Tag played the role of art director. We reviewed some digital art on Etsy and chose a bundle of science-themed art from CraftyArtCafe. Tag chose the specific images and we think it turned out great!
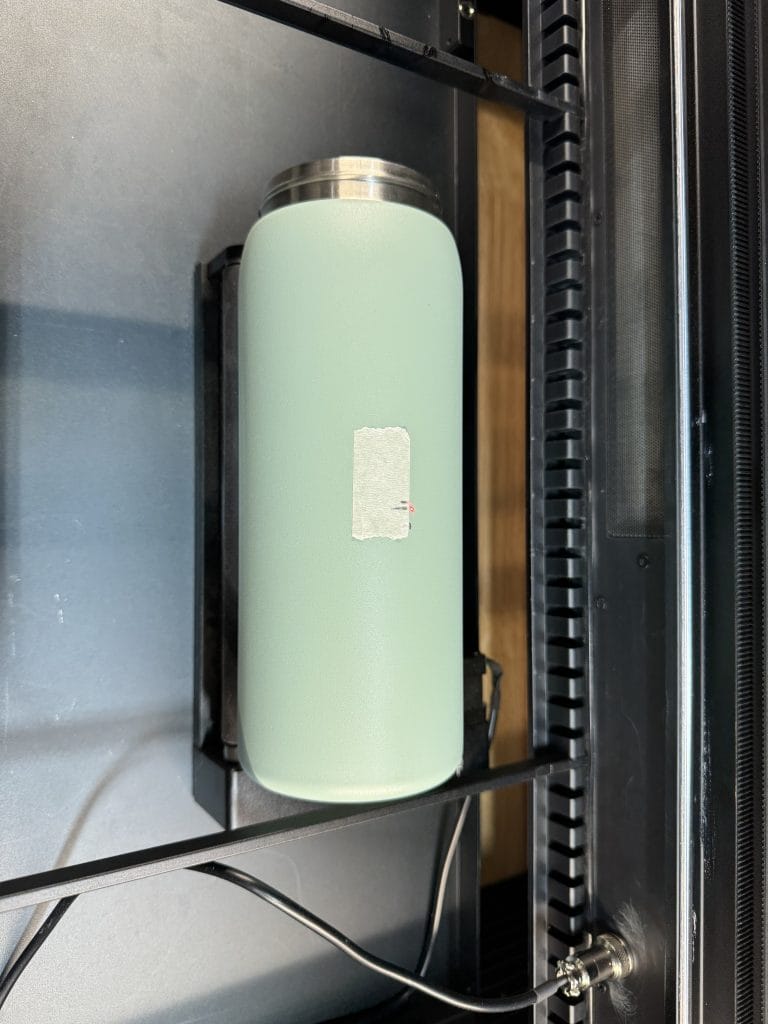

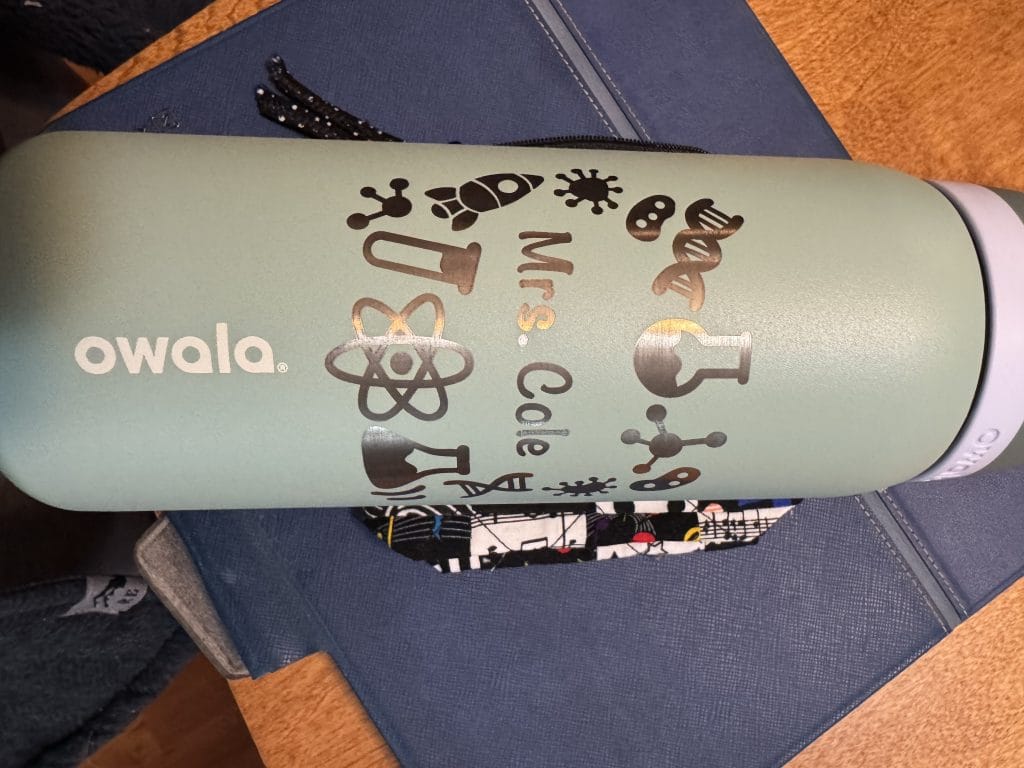
The boys chose to fill the water bottle with candy and gave it to her on Teacher Appreciation Day (Tuesday). We all got a nice thank you email from Mrs. Cole – she was super happy – so I’ll count her (and Tag and Brady) as satisfied customers!
PS – I used my standard 60/200/200 settings for stainless steel, powder-coated water bottles. That’s 60% power, 200 mm/sec, and 200 lines/cm. Check out this post for more about laser engraving water bottles.