I saw a video in which a guy made a zero-clearance miter saw throat plate. There are plenty of videos showing how to make these, but there was something about this video that inspired me to give it a try. I liked the idea of taking a product that is already damn good and making it a little better.
My Miter Saw
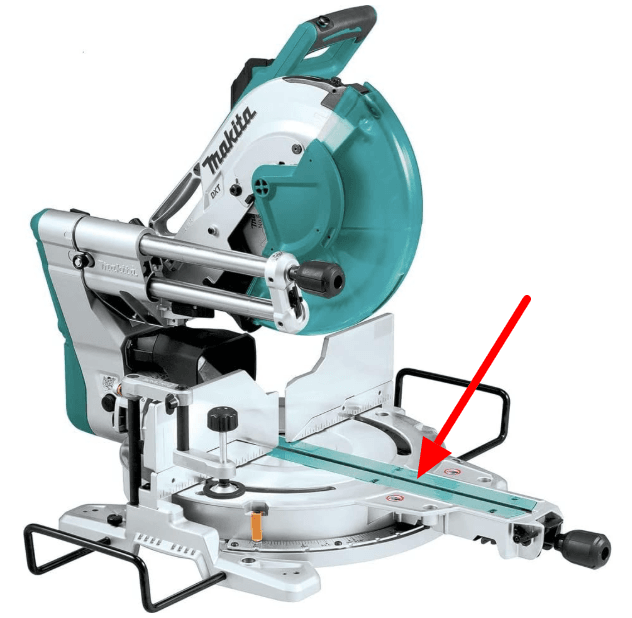
I have the Makita LS1219L miter saw – see the MW Review. It’s an awesome miter saw, but it comes with the same plastic inserts you find on every other miter saw. The stock throat plate is actually two pieces, left and right.
Why Zero Clearance?
A stock miter saw throat plate is thin with a wide gap (wider than the blade) so that it can accommodate bevel cuts. When you tilt the blade left or right, the plate remains out of the way of the blade.
So if you replace the stock miter saw throat plate with a zero clearance throat plate, aren’t you taking away the ability to do bevel cuts? The short answer is yes. Bevel cuts are most often used when installing crown molding. Particularly when installing crown molding in a corner, you need to make a compound cut that combines both a miter and a bevel angle. So if you’re one of those people who regularly installs crown molding, you should not put a zero clearance throat plate on your miter saw.
But I’m not one of those people. In the year that I’ve owned this particular saw, I’ve made exactly one bevel cut – it was to test the accuracy of the saw. I tilted the blade to 45 degrees, made my bevel cut, and measured the cut of the wood with an angle-finder. Once I determined my saw was accurate, I moved on and haven’t made a bevel cut since. When I need to cut at an angle, a miter cut always suffices.
A zero-clearance miter saw throat plate has three benefits.
- Reduces dust. The dust from the blade is more accurately directed to the dust collection chute.
- Reduces tear-out. Since the bottom of the piece being cut is supported by the throat plate all the way up to the blade, tear-out is reduced. Note you’ll still have the potential for tear-out at the back of the piece.
- Looks better. I used a scrap piece of black walnut and finished it with butcher block conditioning oil. It looks awesome!
Making the Miter Saw Throat Plate
The first step was to get the basic shape. I removed the screws from the plastic throat plate, put double-sided tape on it, and placed a strip of walnut on top. When I lifted the strip of walnut, I had the exact shape of the plastic insert stuck to the underside. This allowed me to mark the position of the screws and trace an outline of the throat plate.
I used my table to cut the strip to the exact width and my miter saw to cut to the exact length. Note that on my Makita, the ends are slightly angled. I got pretty close on the miter saw and got to the exact shape with a sanding block.

Got the shape!
The next step was to get the thickness of the new throat plate. I used the depth gauge on my calipers to measure the distance from the top of the screw mounts to the top of the cutting deck. On my saw, it came out to 0.2375 inches. I ran the strip of walnut thru a planer until it was 0.2375 inches. Honestly, I don’t have a digital readout on my planer, so I had to sneak up on the thickness. It helped to have the correct shape of the insert because I could test the fit in the miter saw between planer runs.
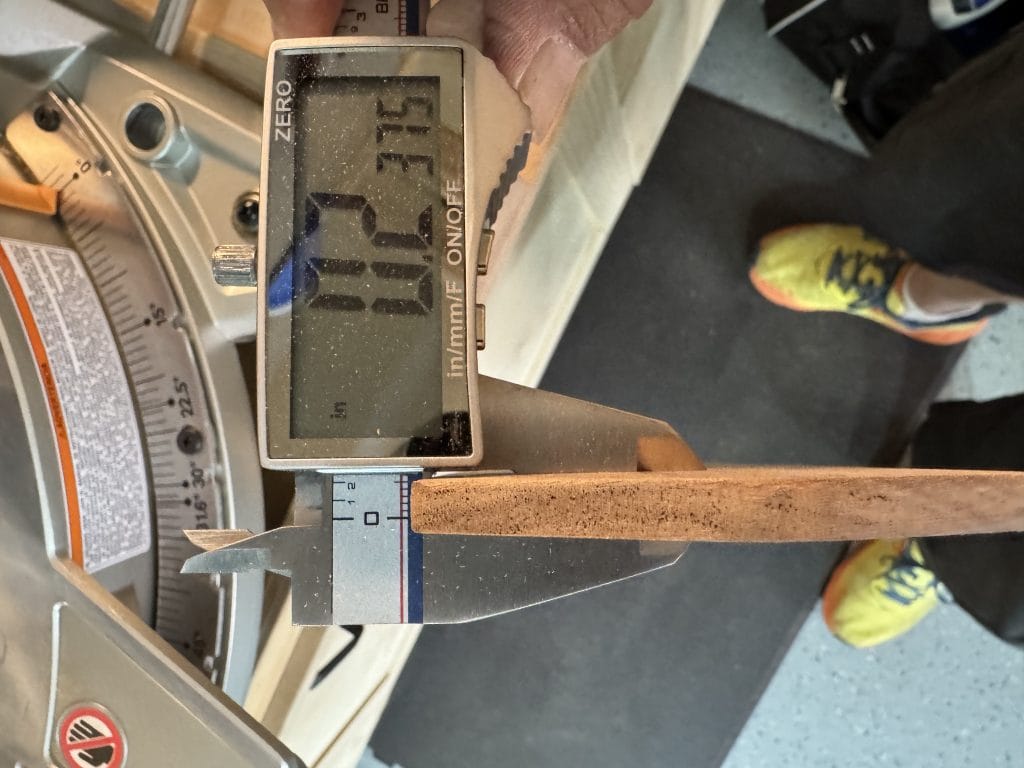
Plane, test, repeat
After that, I counter sunk holes for the screws and treated the throat plate with a heavy coat of conditioning oil. I’m not attached to a particular oil for this. It’s just what I had handy at the time. I think paste wax would have worked fine too.
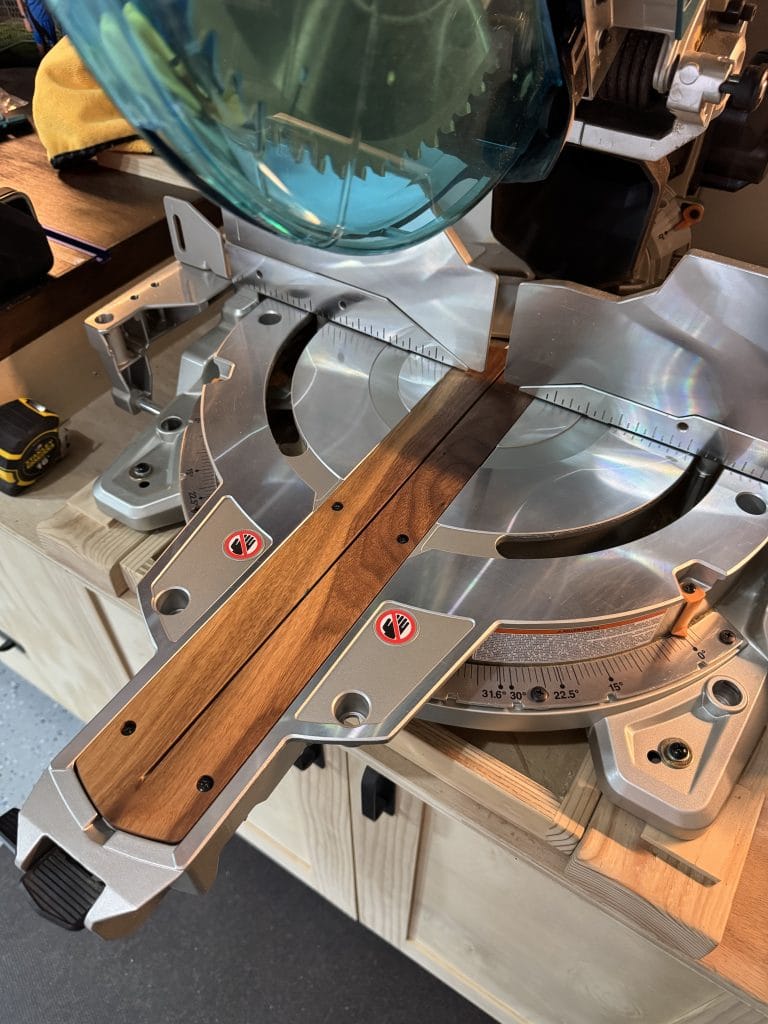
Admiring the Miter Saw Throat Plate
I was a little embarrassed at how pleased I was with my work. I mean, it’s just a miter saw throat plate, but I was giddy with the way it turned out.
New insert installed
After mounting the throat plate, I put the fences back. It was a great opportunity to make sure all of the alignments were perfectly square. I don’t think it was out of square before I started, but as long as I had the fences disassembled…
With the fences put back
I actually took a break to crack a beer and admire it. I didn’t want to cut into my beautiful custom miter saw throat plate just yet. But as soon as I finished that beer, I knew it was time!
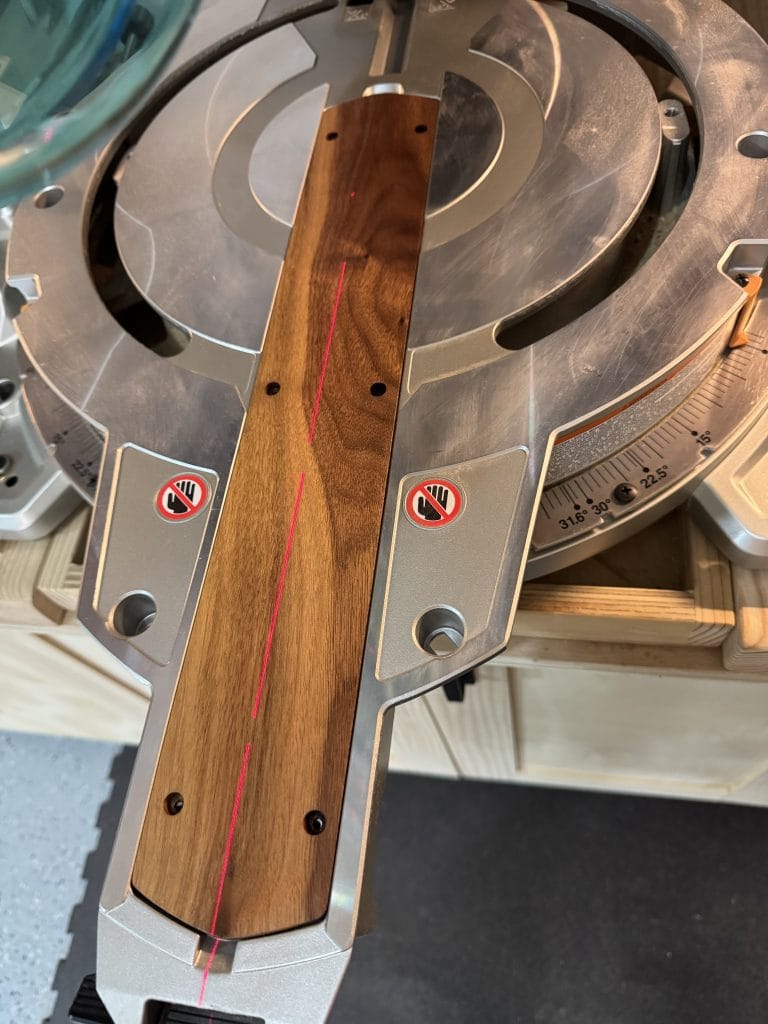
Right after the first cut!
I was careful to start at the very back of the cutting deck. This is where the saw is guaranteed to have zero deflection. Then I slowly pulled the saw forward, being careful to pull as straight as possible. This saw has very little deflection even when fully extended, but I wanted the cut to be as perfect as it could be.

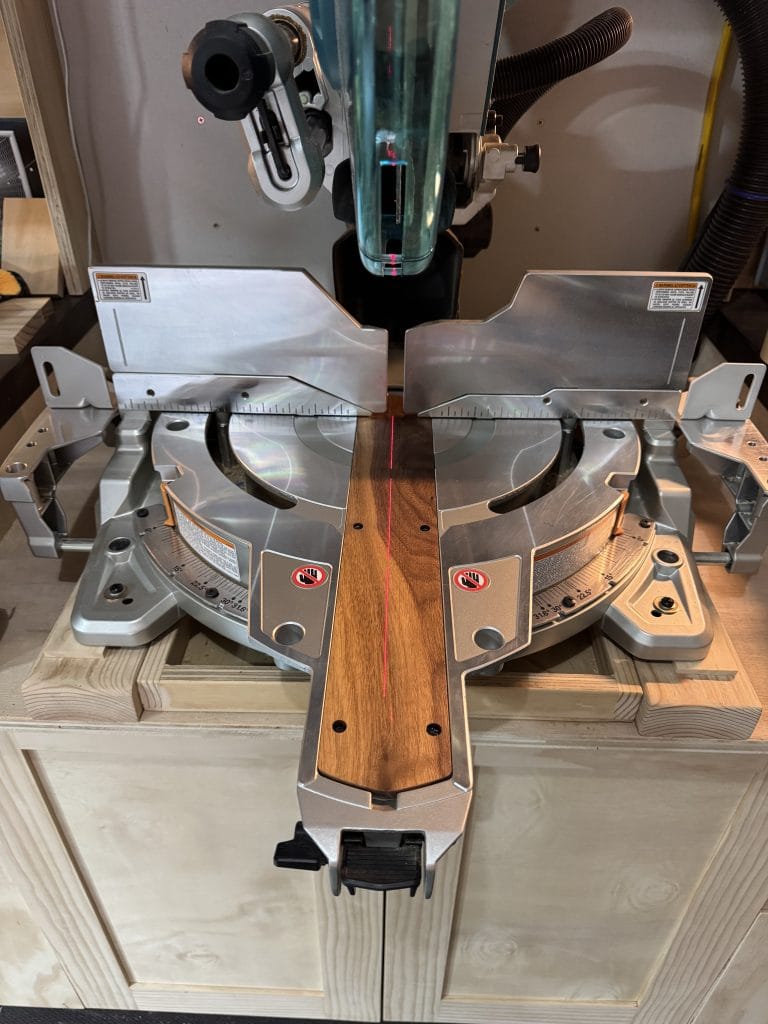
And a pic from the other side
Had I known the amount of pride I would have gotten from this project, I would have tackled it long ago. I just kept coming up with other things to do. In my mind, this wasn’t very high priority because it was just for me and unnecessary for the completion of anything for a client. It’s a good reminder of why I enjoy woodworking so much – there’s nothing like crafting something just for yourself!